Duct Tape Search Engine

Tuesday, July 27, 2010

Duct Tape Belt

This is another project where you can apply colored duct tape to the outer layer to spice it up. For this project I started out with a regular belt, a roll of duct tape, and something to punch the holes for the belt buckle. I recommend that you use an existing belt buckle, but you can make your own out of duct tape. Start by laying out a strip of tape the appropriate length that you want. then you can fold the edges in on themselves for the correct height. Then flip it over and do the same on the back. I suggest doing this several times for the added strenght. Once that is done you can put whatever you want on the outside. I went with a tye dye strip wrapped around in a helix. Now you can punch holes for the buckle and cut the end into a triangle to make it easier to go through the belt loops. Finally, attach your belt buckle on the other end and secure it on with some more duct tape. This belt will now work for both regular, and duct tape pants.

Monday, July 26, 2010

Duct Tape Gloves

In this post I will teach you guys (or girls) how to make gloves out of nothing but duct tape. I know, dreams do come true. All you need for this is a pair of thick winter gloves and a roll of duct tape. I prefer to use multiple colors. First, don the glove on one hand. Then wrap it sticky side out with silver duct tape, as it is cheaper than colored. You start with the fingers and then connect them to the palm. Make sure that it goes as far down the wrist as you would like. Now you can do the same thing, except sticky side in and with colored duct tape. I used tye dye to make them stand out. Make sure to tape the inside finger joints after you remove the glove. You can now repeat the same process on the other hand. Now you have some cool cool gloves.

Tuesday, July 20, 2010

Wallet Update

Just to show you how easy it is to make a duct tape wallet, I built the three colored ones in a day. The silver one I made before. Now I have a wallet for all occasions!

Monday, July 19, 2010

How To Make A Duct Tape Wallet

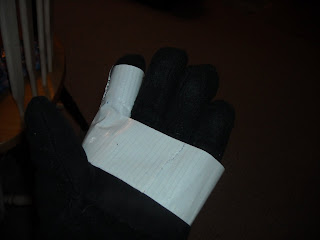
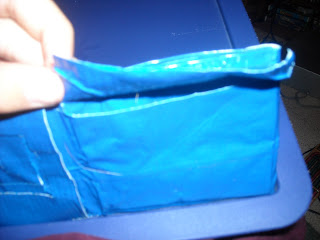
This is really the most famous of all duct tape things, and a blog about how to make things out of duct tape just wouldn't be complete without instructions on how to make a wallet out of nothing but duct tape. Why waste money on something that you use to hold your money? Plus you can have any color you want. To start, just have one roll of regular, or colored, duct tape and a pair of small scissors. I then took a regular wallet and measured the dimensions (you can make it any dimensions that you want, but this way it will fit gift cards and such). Then I took two strips of duct tape that were the right length I wanted and put them together to achieve the correct height. Then you repeat this step and cover the front of them both so that you have the front and inside rectangles of your wallet. Just tape the sides of them together. Now put a strip of duct tape along the bottom inside so that the bottom is closed up. Then put a strip along the same place but on the outside so that there is no sticky side out, and the bill carrying area is finished. Now we can start on the I.D. card slot. This is the same process that we will use for the multi-card slot and the coin pouch. Take two strips that are a few inches longer than what it looks like from the front, and the right height. Put it down with the edges going underneath to keep it attached. Then put a strip along the inside bottom like you did for the bill part. Then cover the outside and cut window to see the card you want to put inside. Now do exactly the same thing on the right side but don't cut the window, and you can put gift cards and such in here. Now for the coin pouch, make another holder on top of the first, just smaller. Then put a flap on top to keep the coins in by taking a strip as long as the pouch is wide and taping it so that the sticky side faces the bill side. Then tape the back of it and now your duct tape wallet is finished. Now you can spread the word about how awesome duct tape is just by taking out your wallet.
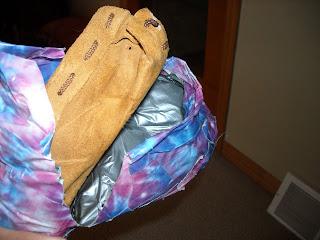
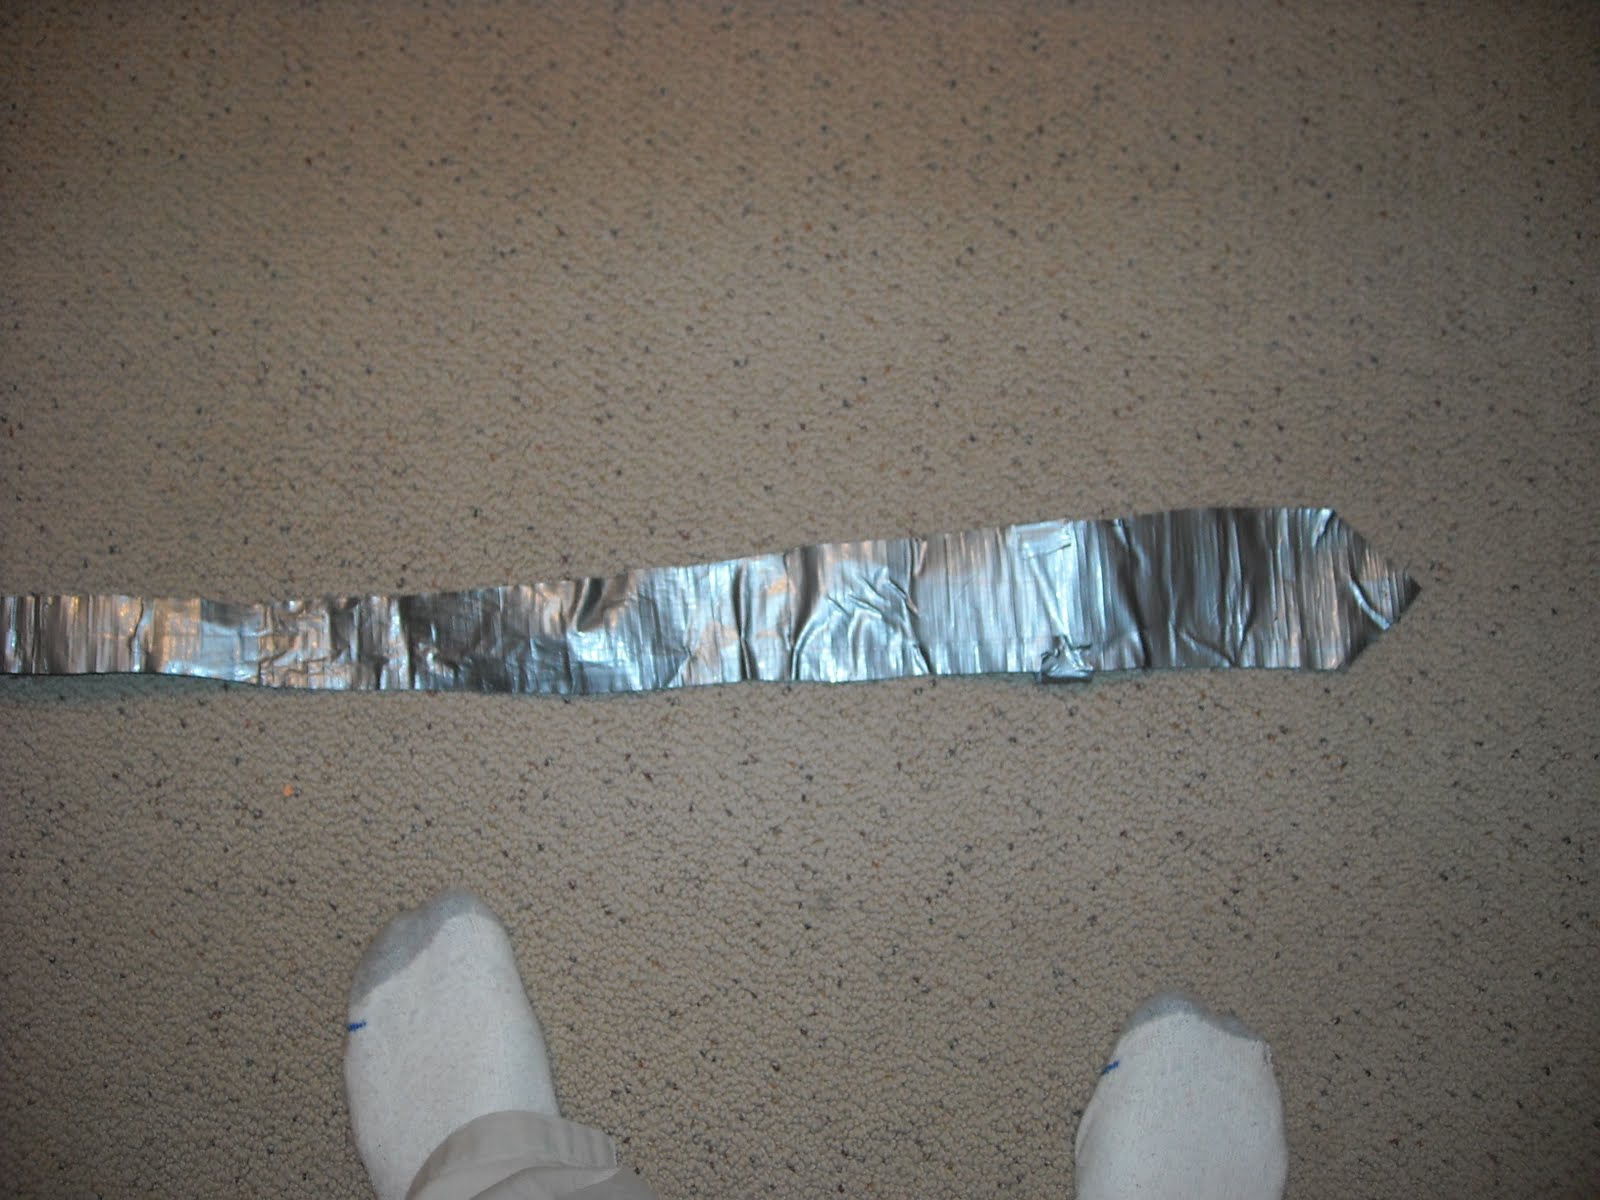
Thursday, July 15, 2010

Duct Tape Belt Loops

I usually like to put a belt loop on all of my cases because it's a simple step and you would be amazed at the instances where a belt loop becomes handy. You can start by taking a strip of duct tape and loop it into itself sticky side out so it's a circle (make sure that the cicle is as wide as your belt). Then you can stick it on the back of your case. You then take a strip of duct tape that is a few of inches longer then the loop on each side. Then put it sticky side down over the loopp. You can add extra strength by putting a strip through the loop. Also you can tape down the sides of the strip over the loop. Now you have a secure belt loop that will make your duct tape case all the more fashionable.

iPhone/iPod Touch Case

This is for all of you Apple fanboys out there. This is also one of those things where you can break something very expensive while making it. Before beginning I highly suggest that you place a screen protector on your device (a piece of packaging tape over the screen is enough). I started out by wrapping my iPod sticky side out in duct tape to completly cover it. Then I did it sticky side in so that my iPod was encased in duct tape. Now here comes the tricky part. You have to make a small insision on the front but near the side. Then you have to cut ouut a rectangle for the screen. It's best to start small to be on the safe side, you can always cut bigger later. Now that the front is cut away you can remove your device and cut out the bottom section for the dock connector and headphone jack. Don't cut it all away though, just what you need otherwise your device will fall out the bottom of your case. Finally, if you want to go above and beyond like I did, then you can put a belt loop on the back. Look at the other post for this. And now you have a duct tape iPhone/iPod Touch case to show all your friends.

Quotable Quote

Harold Green: To enter the contest, we need something that's at least 50% duct tape. Most of your cars already are. Duct Tape Forever

Quotable Quote

“One only needs two tools in life: WD-40 to make things go, and duct tape to make them stop.”

Wednesday, July 14, 2010

How To Make Duct Tape Shoes

For my duct tape shoes, I wrapped duct tape sticky side out around a pair of mocasins that I was already wearing. This way the duct tape fit perfectly to my foot, plus had a comfy pair of removable mocasins on the inside incase you don't like the feel of duct tape. I wrapped silver dict tape from my toes all the way up to my ankles to cover all of the mocasin. Then on the outside I covered the silver with tye dye to make it look cool on the outside (the inside I have silver because it's alot cheaper than colored and no one sees it). Finally, I cut slits on the sides of the ankles to make it easier to put on. It's a very simple process to make some awesome shoes!

Tuesday, July 13, 2010

Duct Tape Tie

Today I am going to teach you guys how to make a duct tape tie. All you need is about half a roll of duct tape (preferably Duck Brand). It can be any color you want. I use tye dye when I want to mix it up. What I did for this was simply lay out a regular tie. Then I put down a long rectangle of duct tape sticky side up next to it that was as long and as wide as it. You can then cover the top of it so that the sticky side is in. After this I put the real tie over the rectangle and traced the pattern onto the tape. Then you can simply cut it out and presto! You have yourself a duct tape tie!

Monday, July 12, 2010

Quotable Quote

Duct tape is like the force. It has a light side, and a dark side while binding the universe together.

Duck or Duct-A History

I would like to start this blog by explaining the history of duct tape. Duct tape was invented in 1944 during World War II by the U.S. Army in order to waterproof equipment. At that time it was army drab olive. After the war people installing ventelation units discovered that it was perfect for that. So the color was changed to the duct silver that we know today, along with it's current name. Now then, a number of companies manufacture duct tape. I only use Duck Brand duct tape. So duct is technically the name for the tape, but Duck is a brand name for it. I just prefer to call it duct.